Recently I made my first endeavour into the Arduino platform. Next to my musical activities I’m a computer programmer (mainly in .Net/C#) so writing code comes pretty natural to me. It was only a logical next step that I try out Arduino as a DIY platform for musical gear.
The requirement
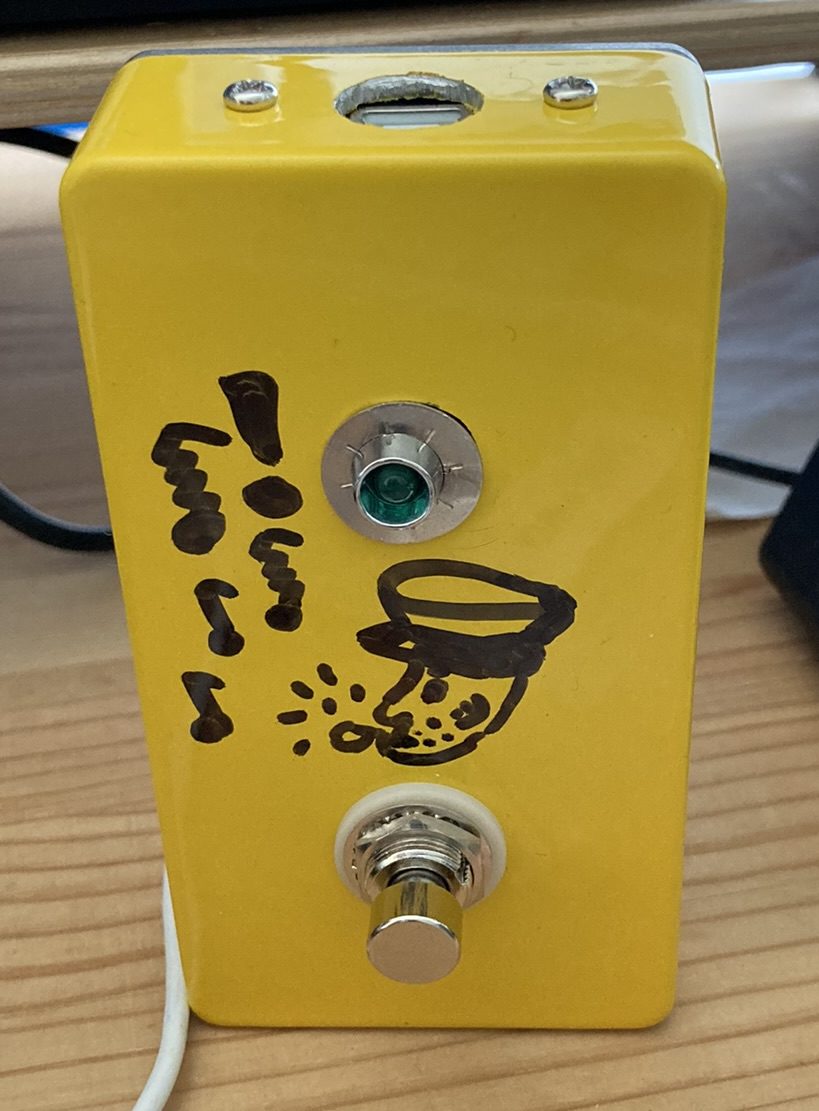
A very simple pedal that maps to the start and stop button in Ableton Live (which we use for our live shows in my band De Delvers) and indicates the current transport status (= is it playing or not?). Ideally connected and powered using – MIDI over – USB.
The name
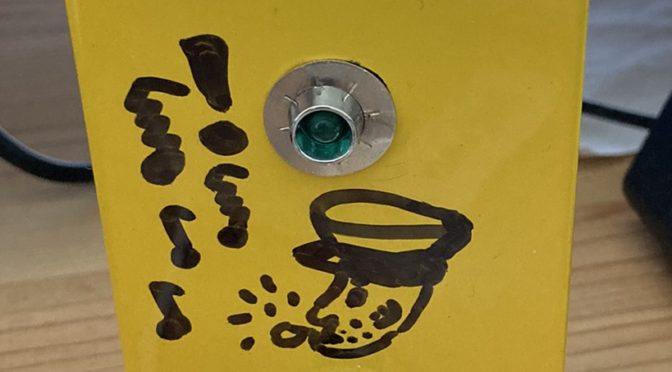
“De Champetter” which is dutch slang for a policeman, as in “someone that orders you to stop and/or continue”. Sometimes I’m really pragmatic about names…and drawing too, as you will see later on. 🙂
The code
Building and uploading to the microcontroller was done using Teensyduino. Using the “Bounce2” library to take care of interpreting the footswitch readings correctly. The MIDI CC’s that are sent to Ableton Live on MIDI channel 10 are CC 126 (for start) and CC 127 (for stop), which you can change of course, but are currently hardcoded.
Code file “midi_champetter”
#include <Bounce2.h>

// Midi Input Device must be on "Remote" mode
// Midi Ouput Device must be on "Sync" mode
// configure the pedal's midi note values for start and stop and its sending midi channel HERE
const int midiChannelOut = 10;
const int playNote = 126;
const int stopNote = 127;

const int onBoardLedPin = 13;
const int isPlayingPin = 14;
const int footswitchPin = 15;

bool isPlaying = false;
Button footswitchButton = Button();

// MIDI CLock on Start handler
void OnStart() {
  isPlaying = true;
}

// MIDI CLock on Stop handler
void OnStop() {
  isPlaying = false;
}

void setup() {
  // setup serial for eventual debugging
  Serial.begin(38400);

  // initialize the LED that indicates wether Ableton is playing (= on) or not (= off)
  pinMode(isPlayingPin, OUTPUT);

  // initializes the button that toggles Ableton play or stop
  footswitchButton.attach(footswitchPin, INPUT_PULLUP);
  footswitchButton.interval(20);
  footswitchButton.setPressedState(LOW);

  // set register the MIDI clock start and stop events when they're sent from Ableton (MIDI device needs to have its "Sync" mode checked in Preferences)
  usbMIDI.setHandleStart(OnStart);
  usbMIDI.setHandleStop(OnStop);

  // on start, indicate the pedal has power by blinking the LED once
  digitalWrite(isPlayingPin, HIGH);
  delay(1000);
  digitalWrite(isPlayingPin, LOW);
}

void loop() {
  usbMIDI.read();
  footswitchButton.update();

  if (footswitchButton.pressed()) {
    Serial.println((String)"Footswitch was pressed while playstate is '" + isPlaying + "'.");
    usbMIDI.sendNoteOn(isPlaying ? stopNote : playNote, 99, midiChannelOut);
  }

  digitalWrite(isPlayingPin, isPlaying ? HIGH : LOW);.
An additional nice-to-have is this code, which exposes a name to Ableton Live, or any USB MIDI reading host for that matter:
Code file “name.c”
// To give your project a unique name, this code must be
// placed into a .c file (its own tab).  It can not be in
// a .cpp file or your main sketch (the .ino file).

#include "usb_names.h"

// Edit these lines to create your own name.  The length must
// match the number of characters in your custom name.

#define MIDI_NAME   {'M','I','D','I',' ','C','h','a','m','p','e','t','t','e','r'}
#define MIDI_NAME_LEN  15

// Do not change this part.  This exact format is required by USB.

struct usb_string_descriptor_struct usb_string_product_name = {
        2 + MIDI_NAME_LEN * 2,
        3,
        MIDI_NAME
};
The hardware
- Teensy 4.0 for its small footprint and out-of-the-box MIDI-over-USB capability
- A pedal enclosure that I had lying around from musikding.
- A green LED to indicate wether Ableton’s transport is running or not
- A DPDT footswitch that I dug up somewhere. You’re good with an SPST if I’m not mistaken but I didn’t have that at my disposal back then. It comes down to how you wire it.
- A USB panel mount, like the one found here.
The process
A sneak peek into the development during the breadboarding phase so you can see what it does:
Oh yes, and getting everything seated properly inside the rather small enclosure was a bit of a pain :-). The whole process took me a few evenings but I think the actual assembly took most of the development time.
The result
Only thing left was mapping the CC’s that the Teensy sends over USB to the start and stop buttons in Ableton Live. In Ableton’s MIDI configuration tab you also need to set the midi input device on “Remote” mode and the output device on “Sync” mode. Then you can use the footswitch to start and stop your currently running scene. On top of that, the LED indicates wether Ableton Live is running or not. Simple, but very convenient.