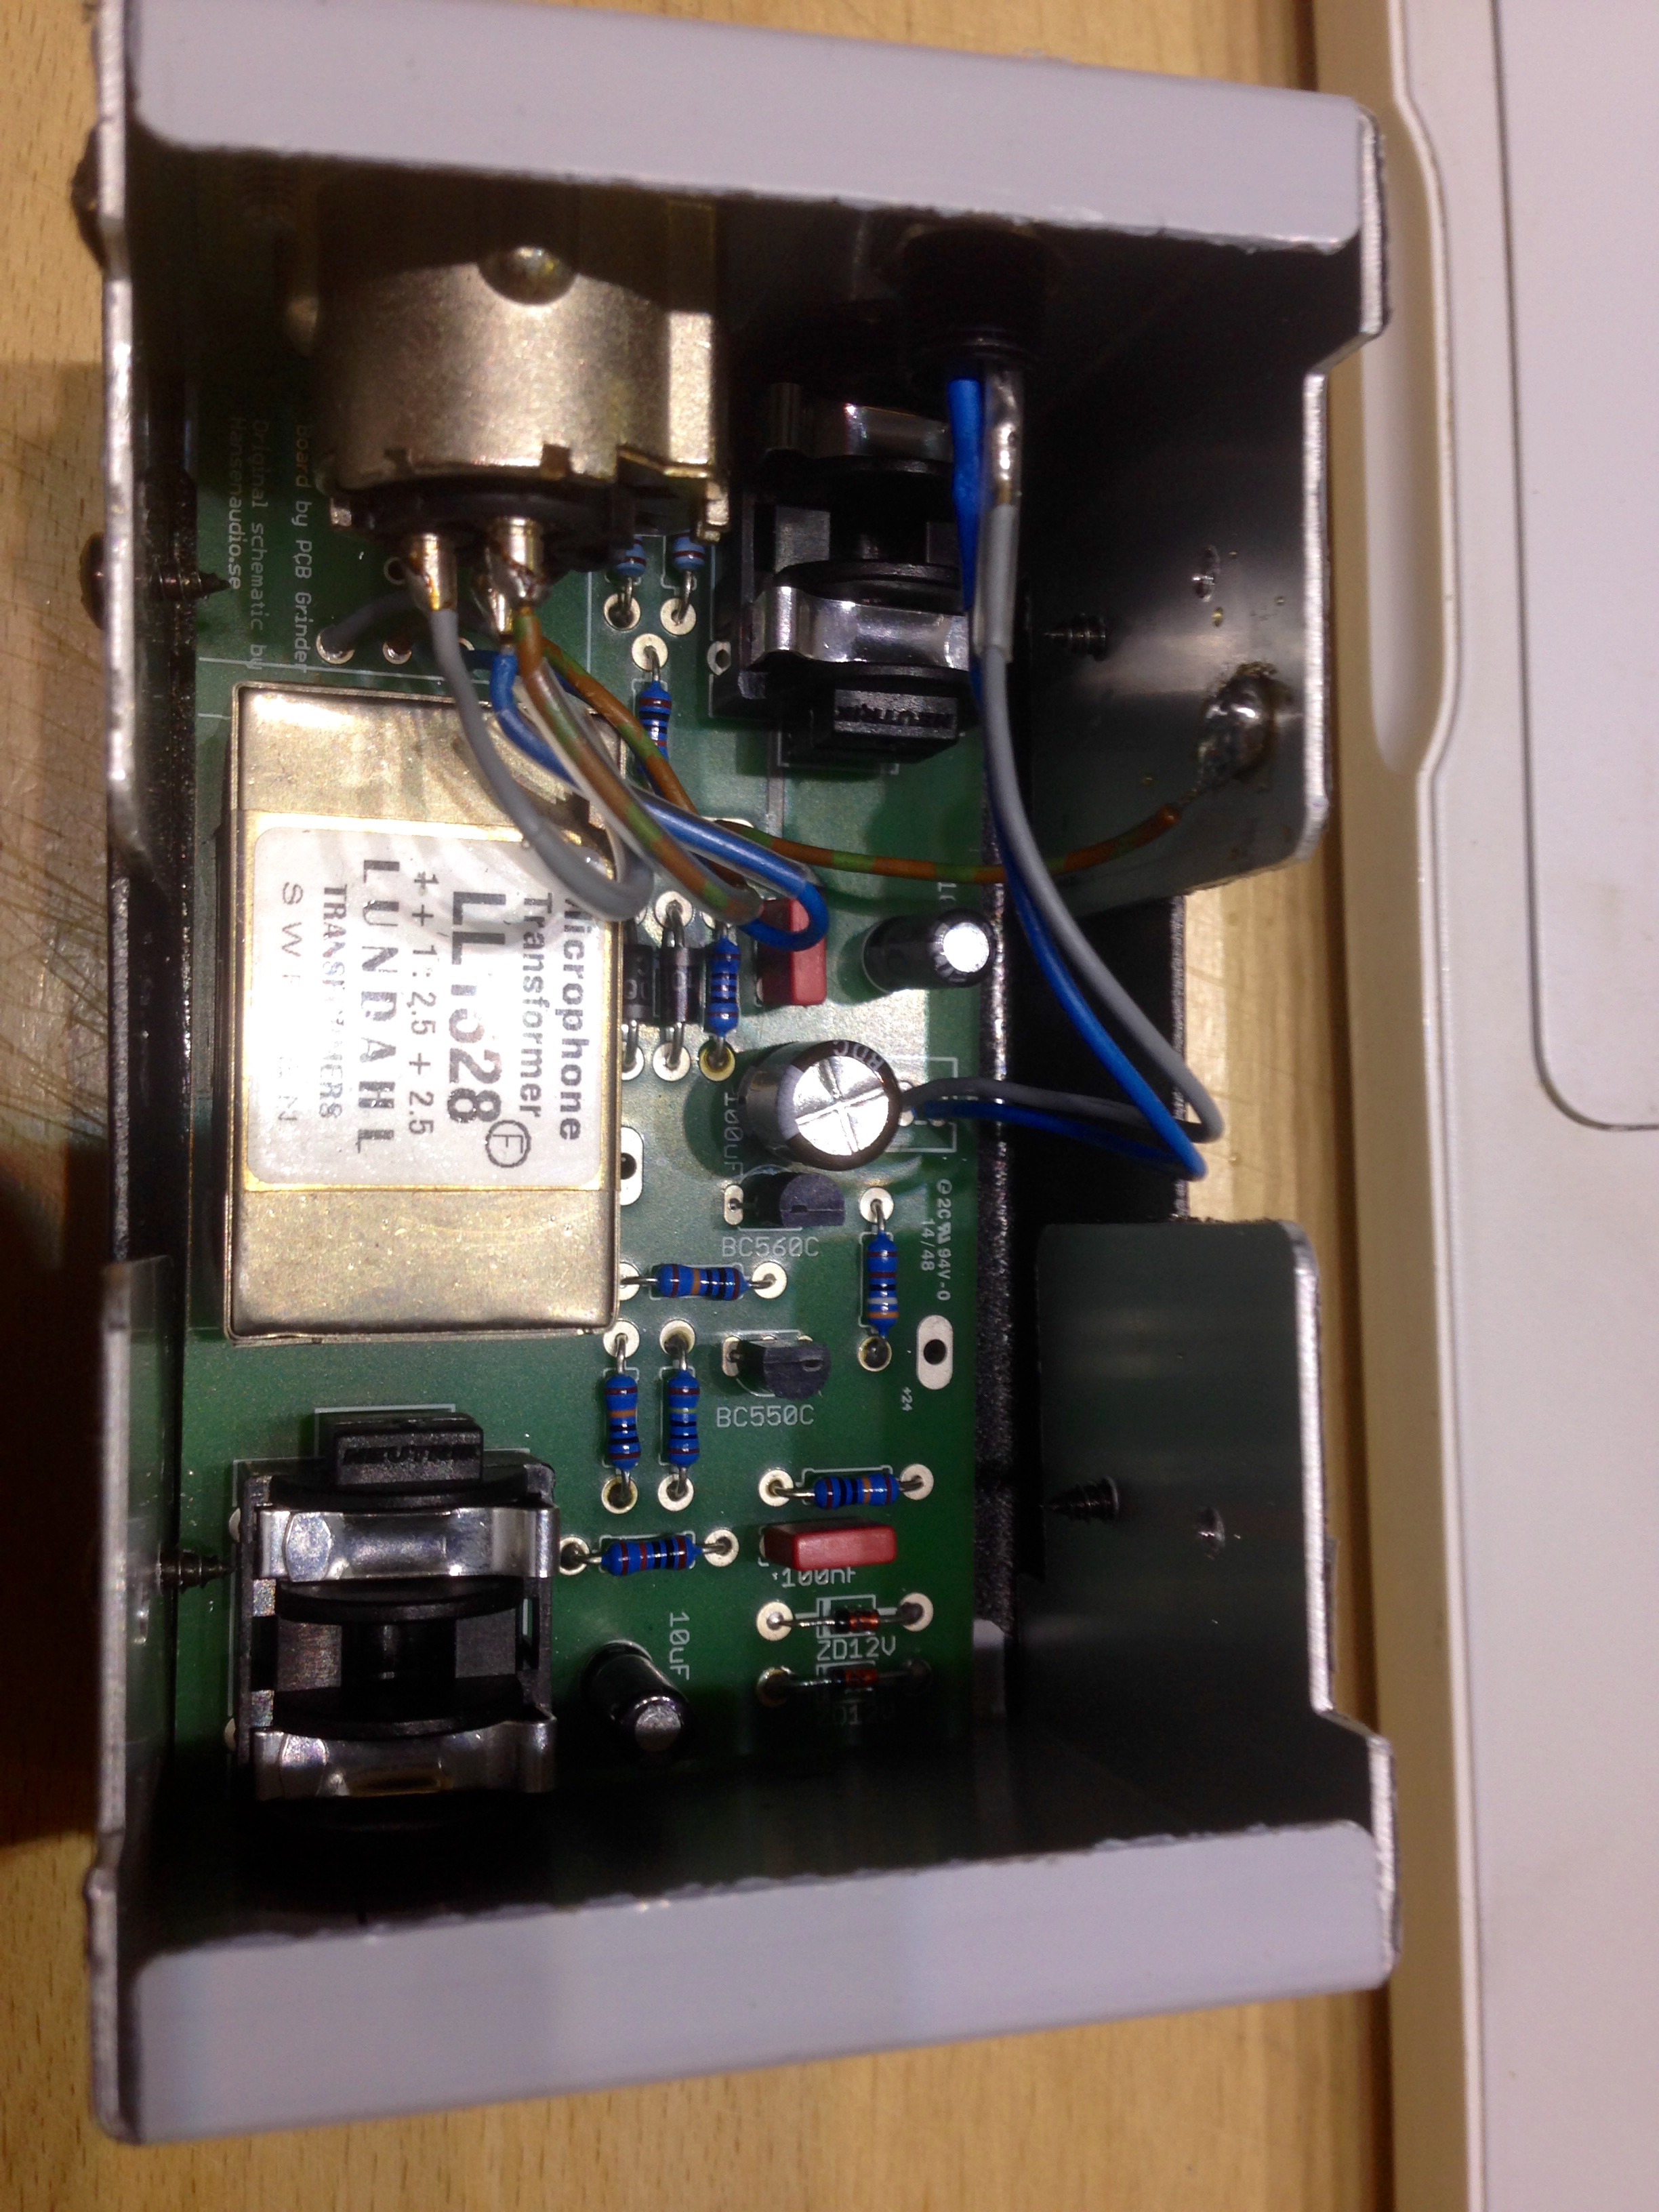
This is a build I’ve been wanting to do for a long time. I just love SSL buscompressors and SSL’s in general, so being able to build one myself intrigued me big time. After reading through a post on Homerecording.be I bit the bullet and ordered the GSSL kit from PCBGrinder. The kit’s page has both an assembly & wiring guide on it, if you’re as inexperienced as me that’s a great help.

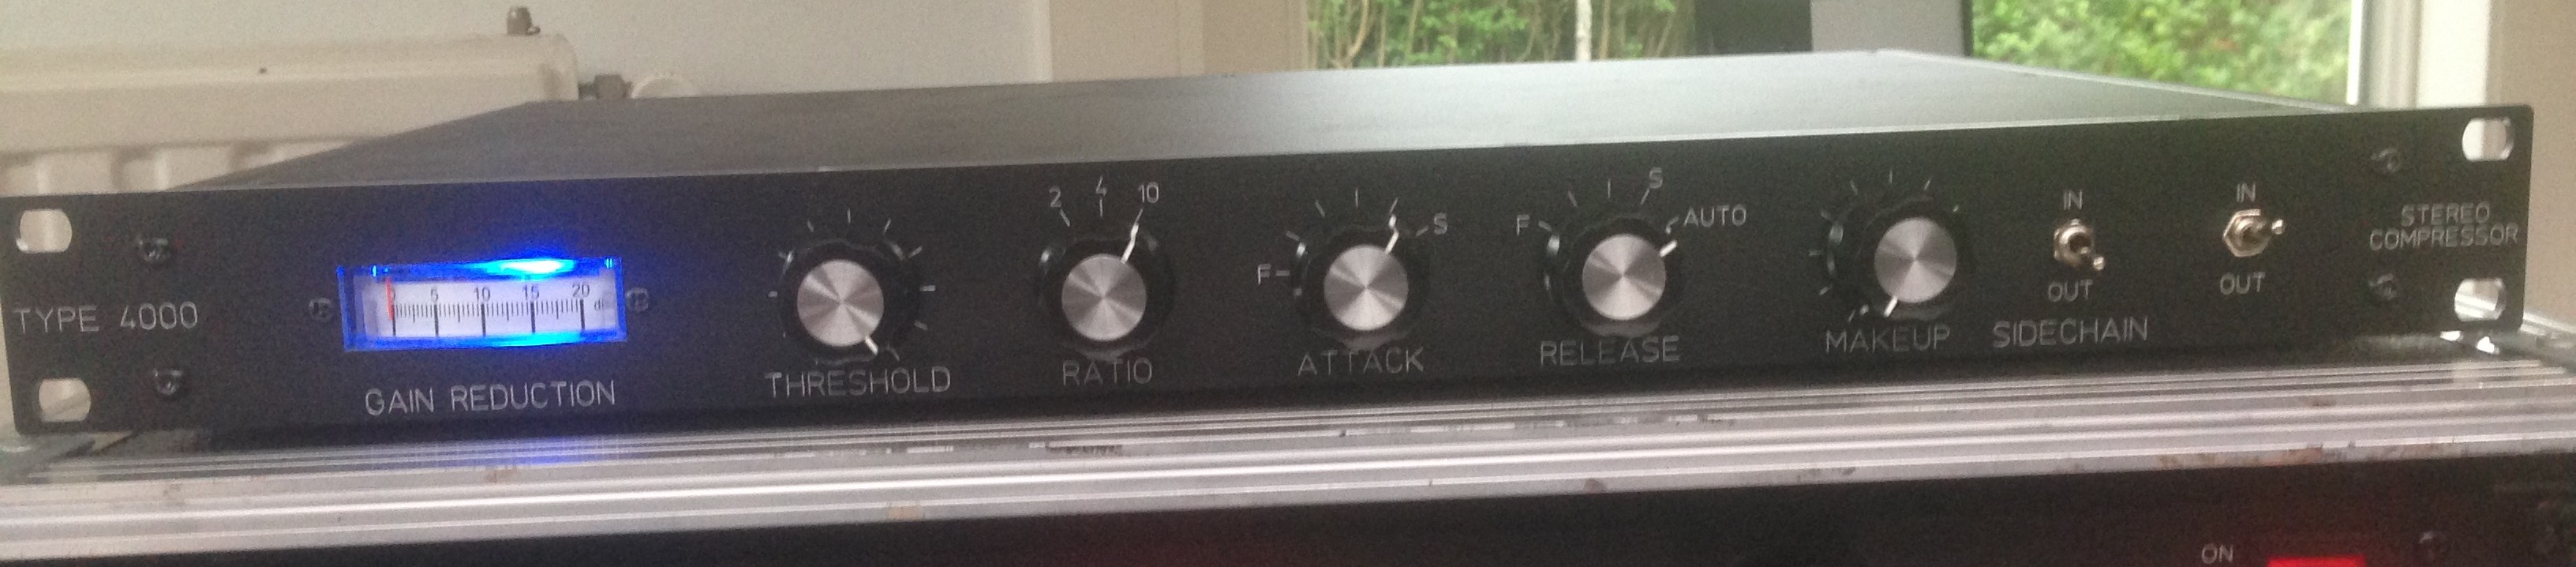
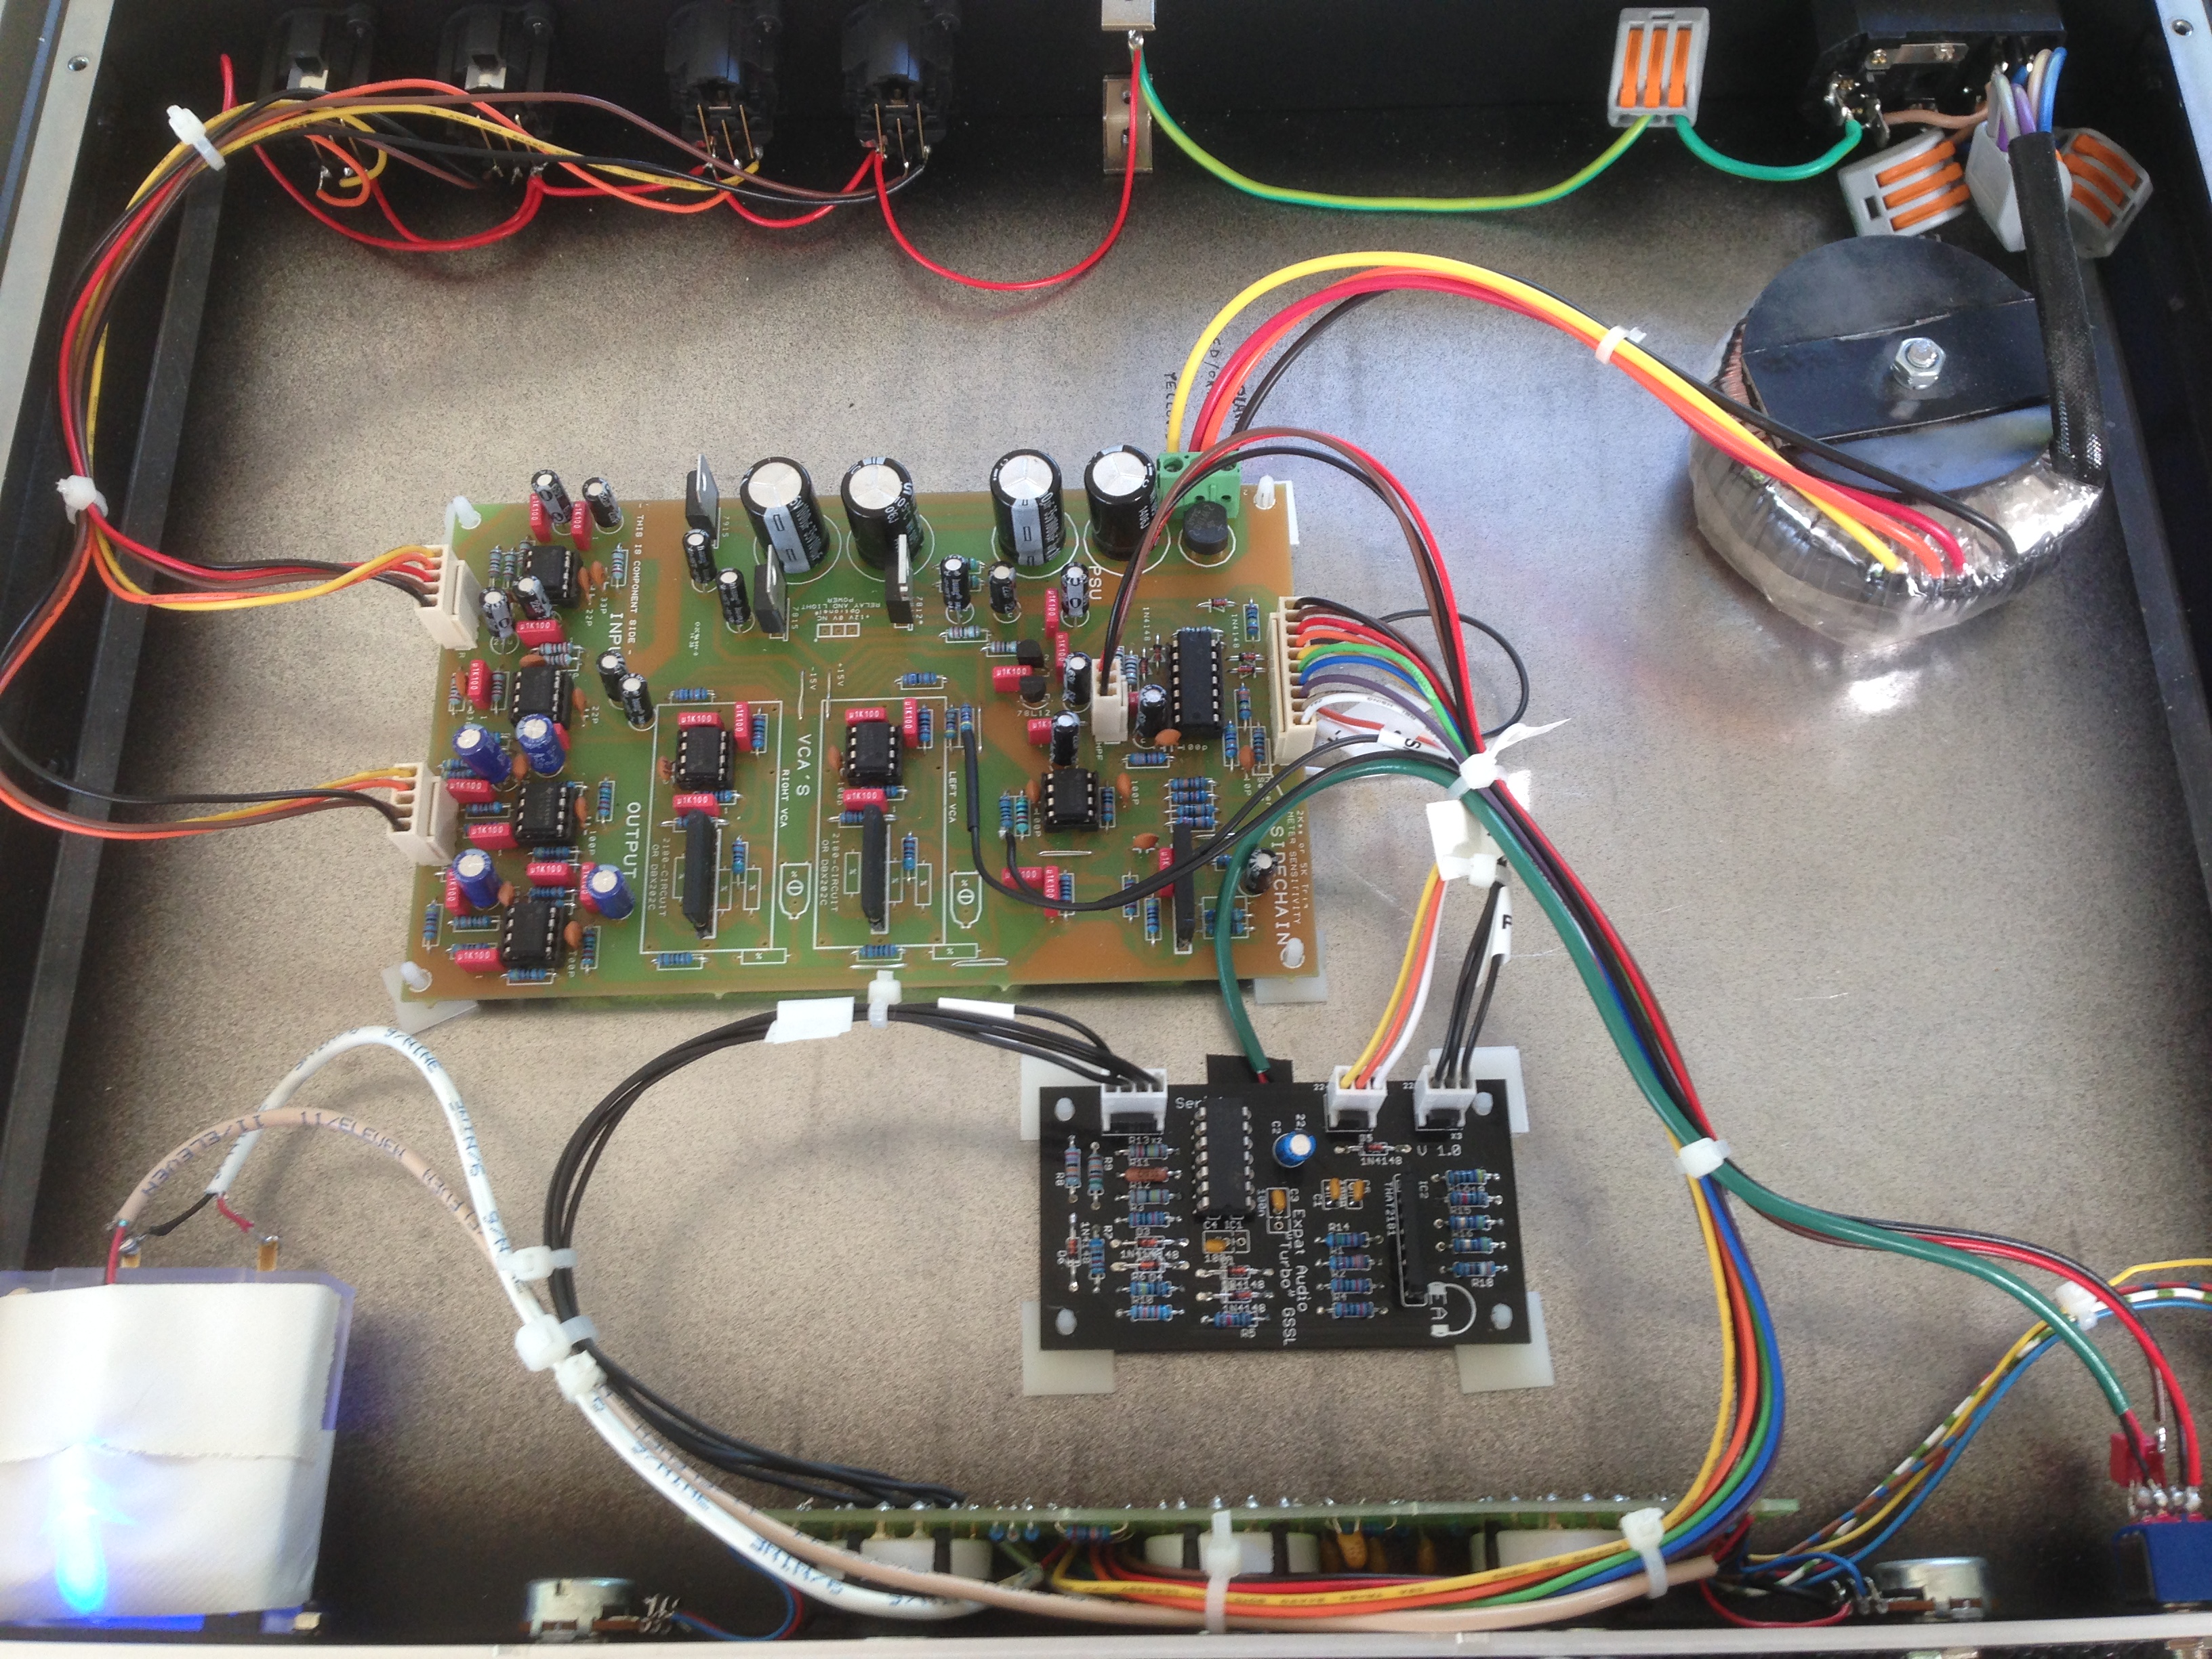
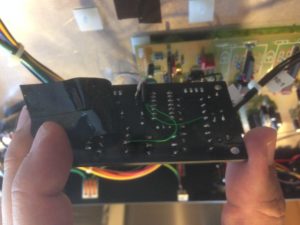
On top of the kit itself I ordered a case and a ready-made frontpanel from Frontpanels.de and the turbo mod. The latter makes the GSSL behave more like a real SSL buscompressor in which each channel has its own sidechain circuit.

I’ve been working on this build for several months (I think I first started in February) and had to tackle a few obstacles, which I’ll describe here, it might help out someone.
So, here goes the list of things that caused me to work longer on the GSSL than expected:
- Life in general 🙂
- The standard GSSL itself worked virtually right away. Make sure this is working properly before starting mods.
- Don’t forget bridge all the “white lines” on the PCB with trimmed leads.
- Distorted sound at some ratio’s: this was a problem with the Lorlin switches. Make sure the stop-pins are in the right pinhole!
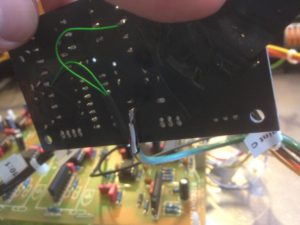
- Bad soldering, especially after bolting on the turbo mod. Reflow or resolder if a continuity test using your DMM fails or sounds rather funky.
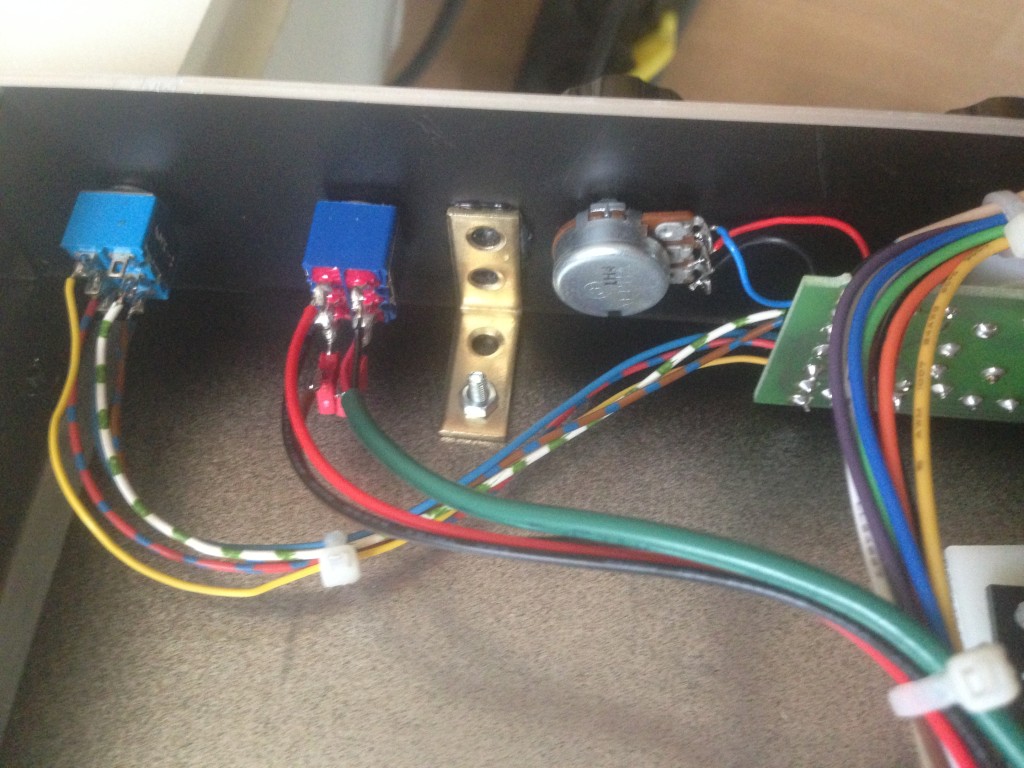
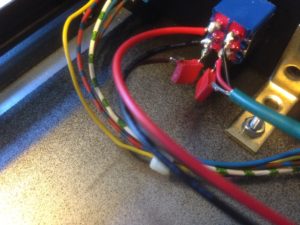
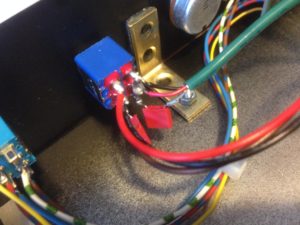
- Because my frontpanel allowed for a sidechain HPF filter, I wanted the compressor to retain this functionality, even after adding the turbo mod (it might have some use for bass-heavy material). So, I needed to replace the kit’s SPST switch with a DPDT switch and an extra cap. I went with the same value as suggested in PCBGrinder’s assembly manual: 100nF, which makes for a 160 hz high-passfilter. Explained more eloquently over at this GroupDIY post.
- Although the case and frontpanel are of of excellent quality, the frontpanel’s not secured in the middle and will bend a bit. Solved that by glueing some extra metal profiles to the frontpanel’s backside and tightening them on the bottom plate with screws.
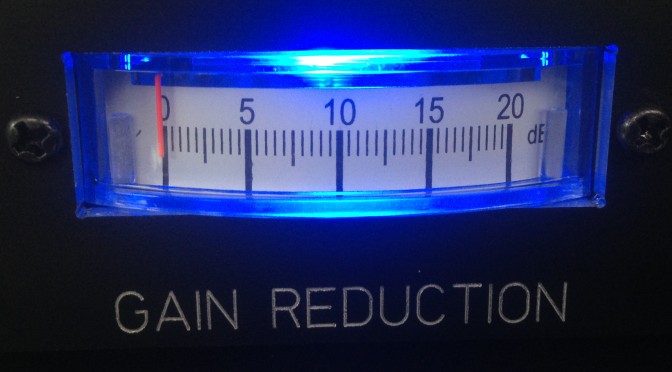
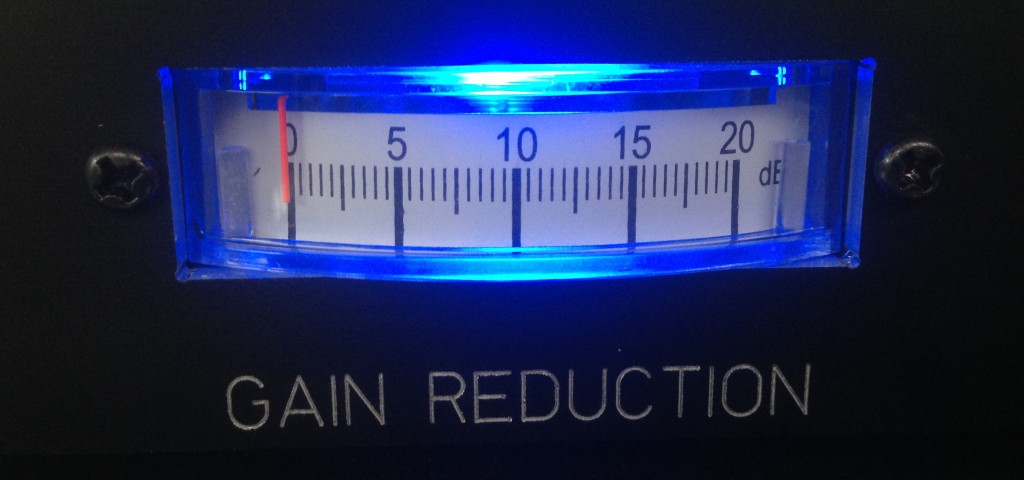
- Changed standard LED with a blue one. No rocket science there, but it sure looks pimped-out. The VU meter’s red leg gets a cool glow-in-the-dark kind of feel when the LED’s on in the dark.
- It took me ages to realize that for turbo mod installation the 100R resistor did not need to be lifted, only the 47K resistor. No wonder my sidechain HPF didn’t work and the readings were way off.
- Level drop of +-6dB on one of the sides where it worked before: after taking out and working on the PCB, reseat the IC’s properly
- Screwed up a solder pad on the turbo board: curse yourself and your friggin’ hobbies and recreate the traces to the component’s leg in the broken pad with small pieces of wire.


List of materials/sources:
- PCBGrinder: GSSL Kit, VU-meter, knobs (5), power transformer
- Frontpanels.de: case, frontpanel, xlr sockets, IEC sockets
- Expat Audio: turbo mod PCB
- Mouser.com
- turbo mod parts
- DPDT switch for dual sidechain filter
- Terminal for the power connections
- Musikding.de
- PCB connectors for the turbo board